Create Custom Dashboards
The dashboard customization feature in OpManager helps you to create your network monitoring dashboard and view desired performance metrics and reports at a glance. Now, a user can create and share dashboards with other users.
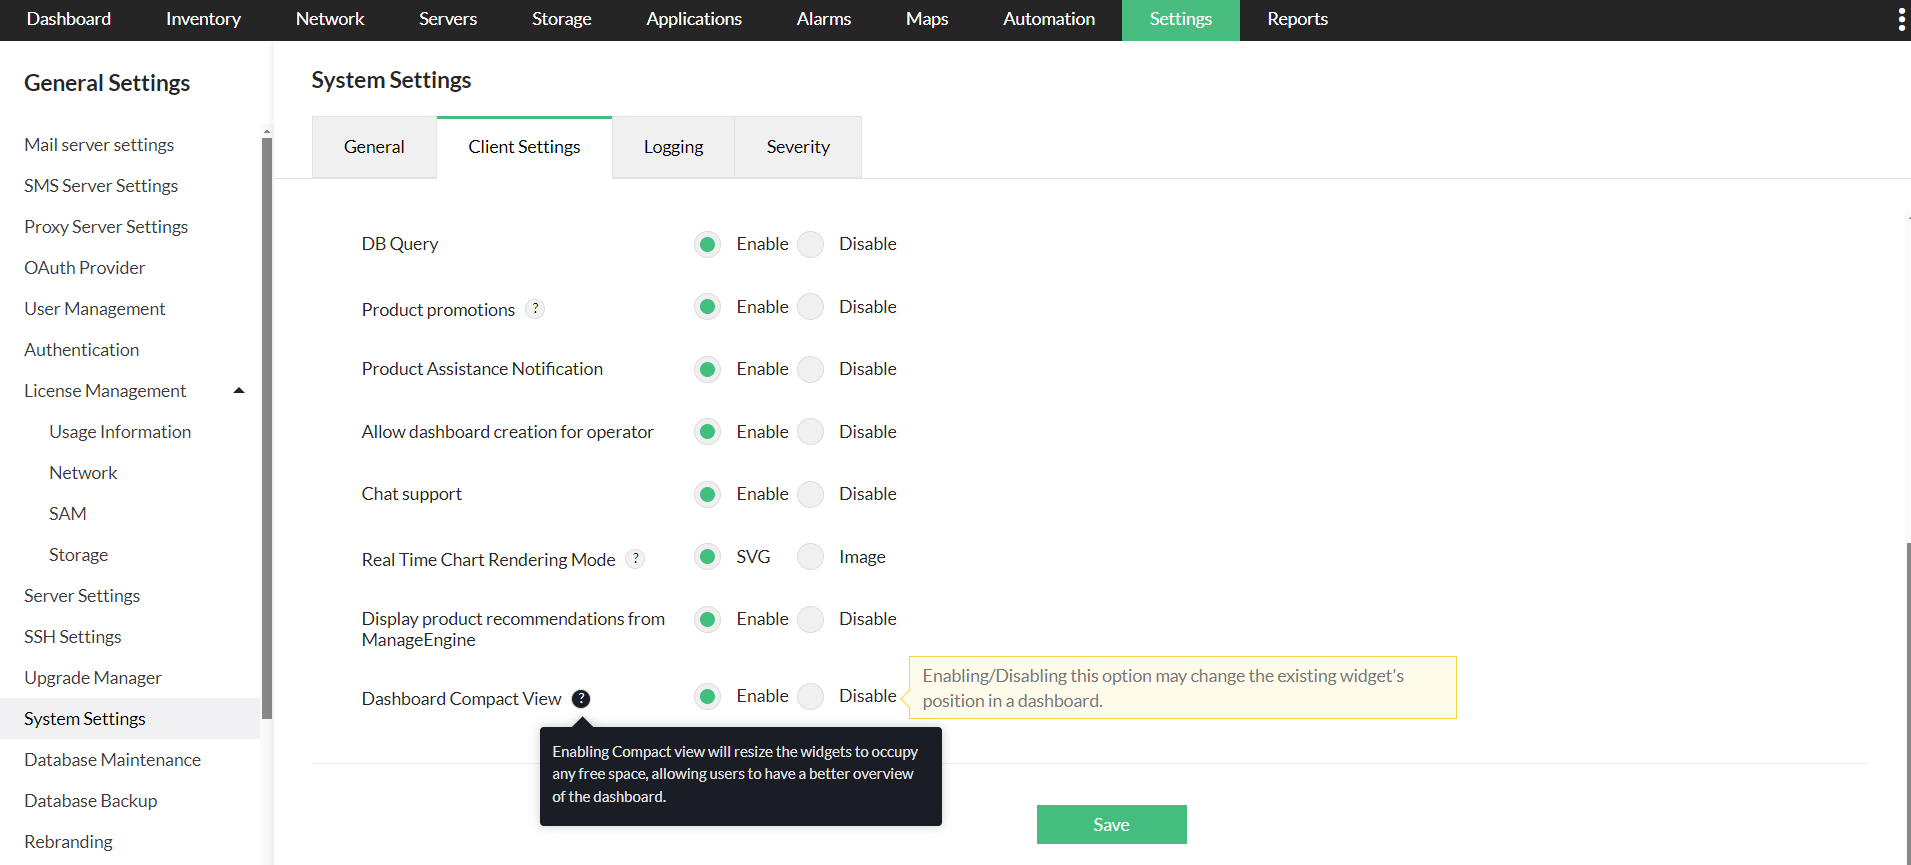
Note: For an operator to create custom dashboards, admin user has to first enable the 'Create dashboard for Operator' option.
To enable this feature go to Settings → System settings. Under General, select Enable the Allow dashboard creation for operator.
1. Click onDashboard. In the top right corner of the screen, click on the icon with + symbol. Create New Dashboard page opens [screen shots given below].

2. Name: Enter a unique name for the dashboard.
3. Description: Enter a description about the dashboard.
4. Click Next.

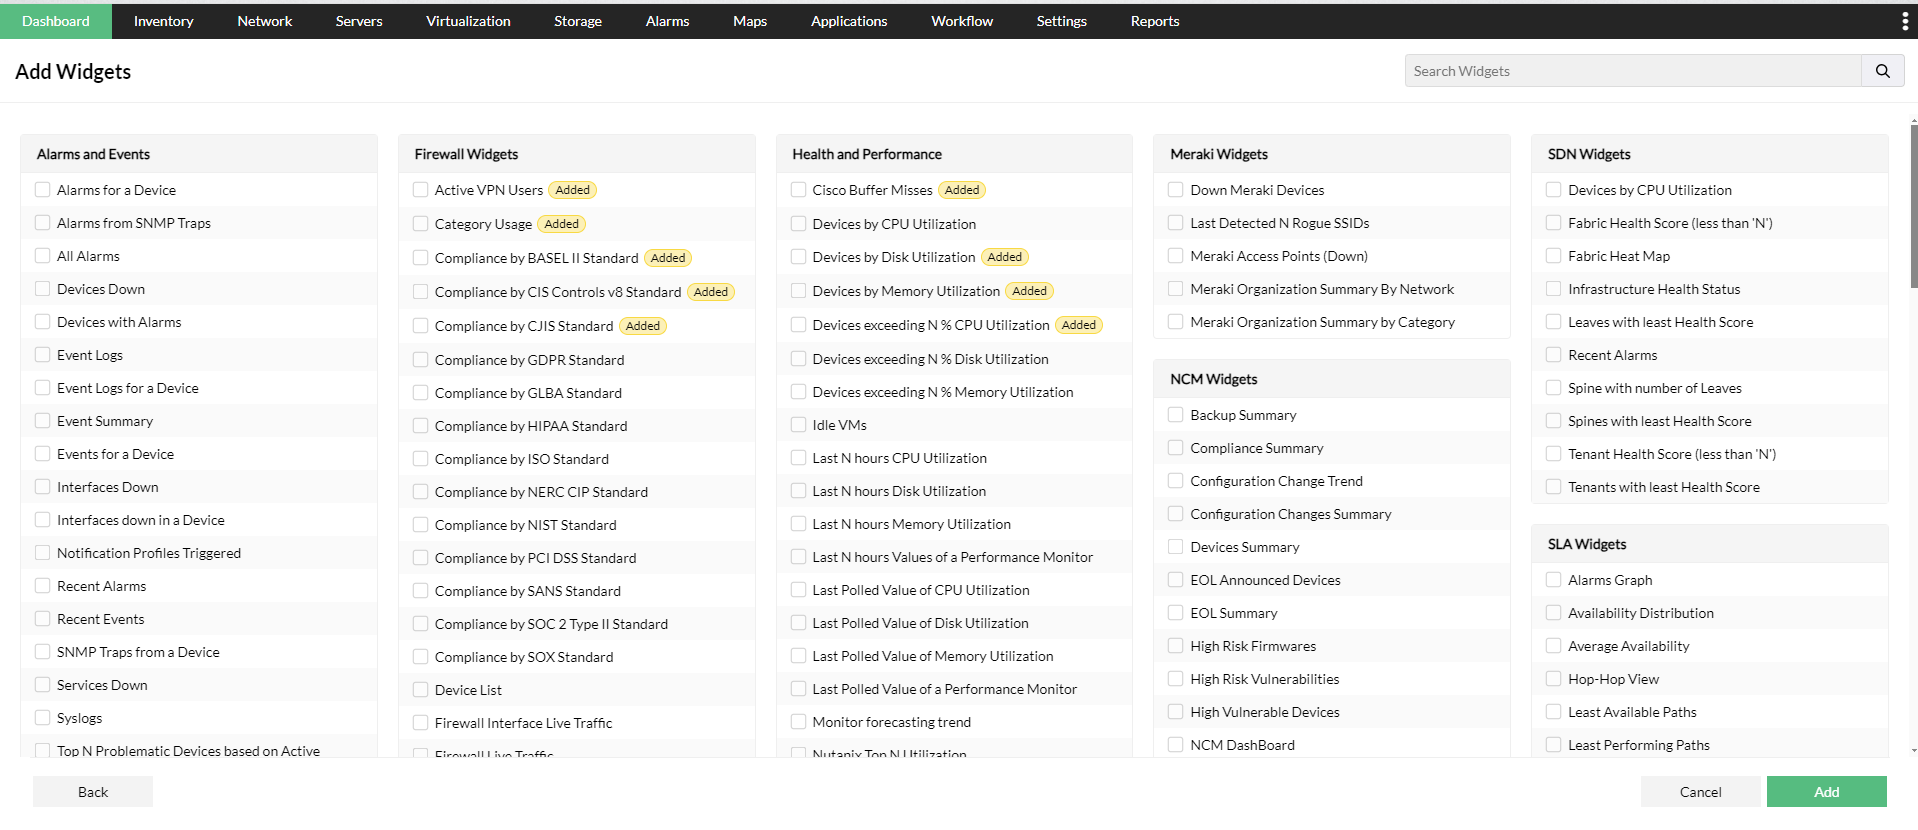
5. Select Widget(s) from the list of widget categories. You could use the search bar to find the widget.
6. Click Next.
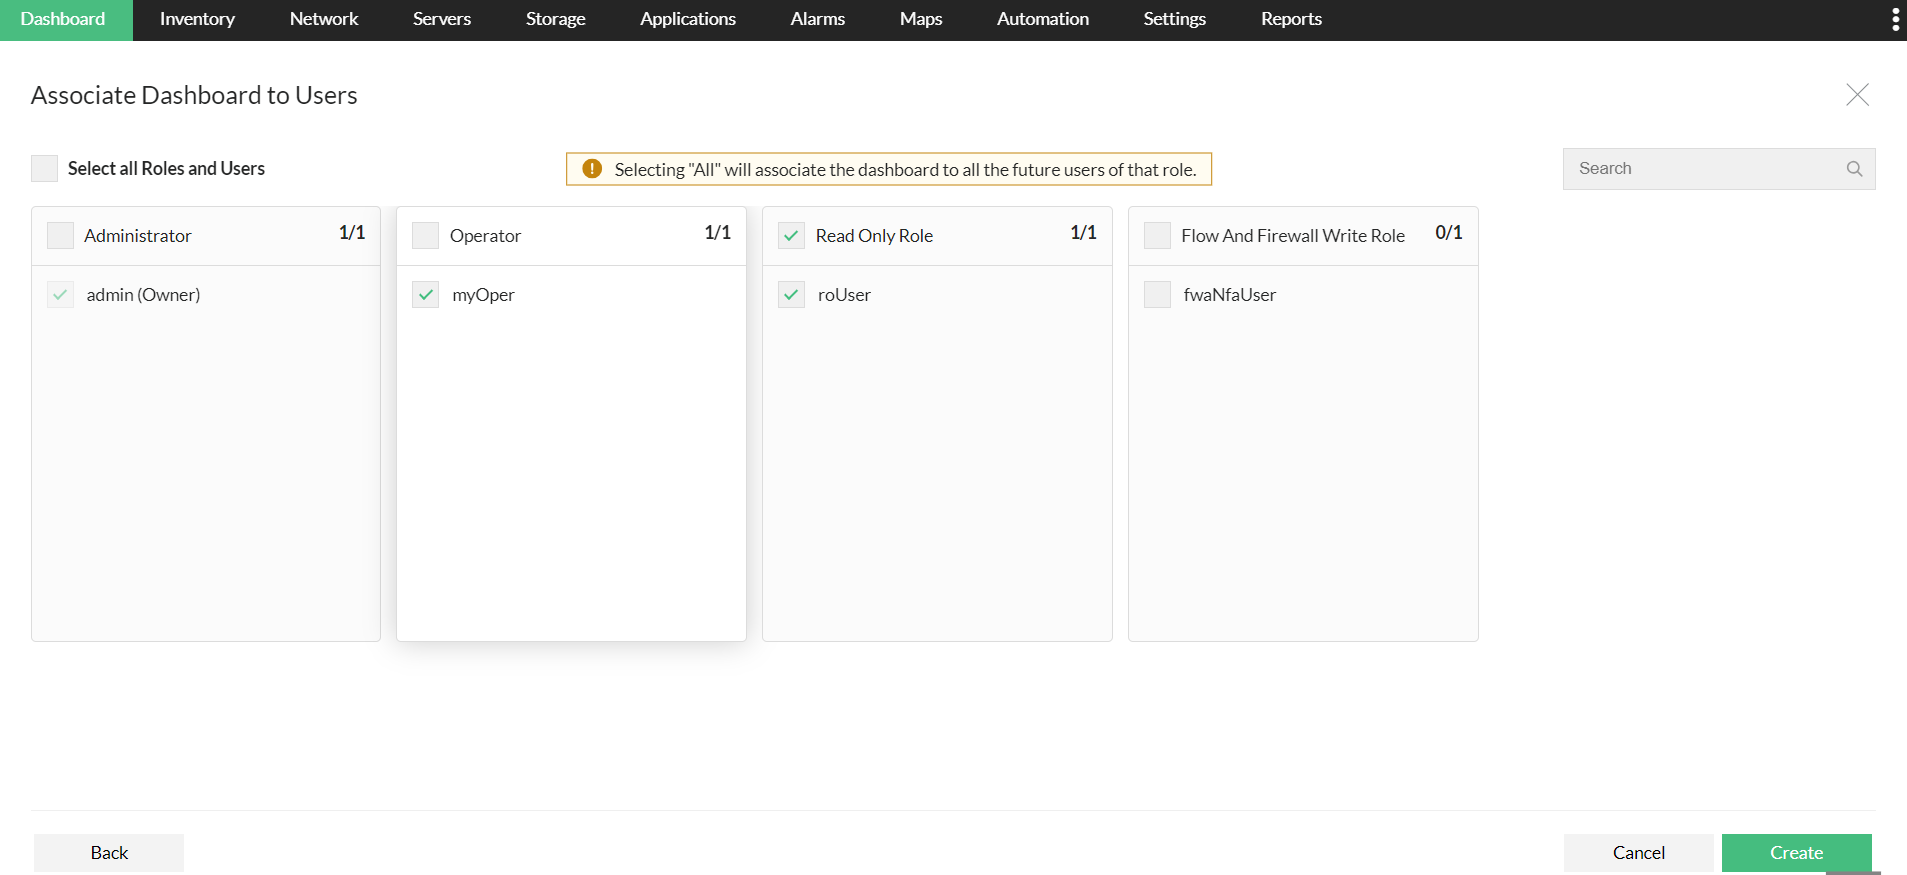
7. Select the user(s) whom you wish to share the dashboard with (Refer to the table below for privilege-based actions on custom dashboards).

8. You can associate Dashboards with specific roles or with specific users by selecting them manually.
Note: Selecting a role for a Dashboard will automatically associate it with all future users assigned to that role.
9. After selected users to be associated, click on create. A new dashboard is created and listed on the My Dashboard page.
The role-based sharing/editing actions that can be performed by the admin/operator on custom dashboards have been tabulated below.
|
Action
|
Admin
|
Operator
|
|
Create dashboard
|
Available
|
Available
|
|
Dashboard association authority
|
Can associate with all users.
|
Can associate with other operators only
|
|
Edit/Modify Widget
|
On dashboards of all users.
|
On dashboards created by self
|
|
Delete widget / Delete Dashboard
|
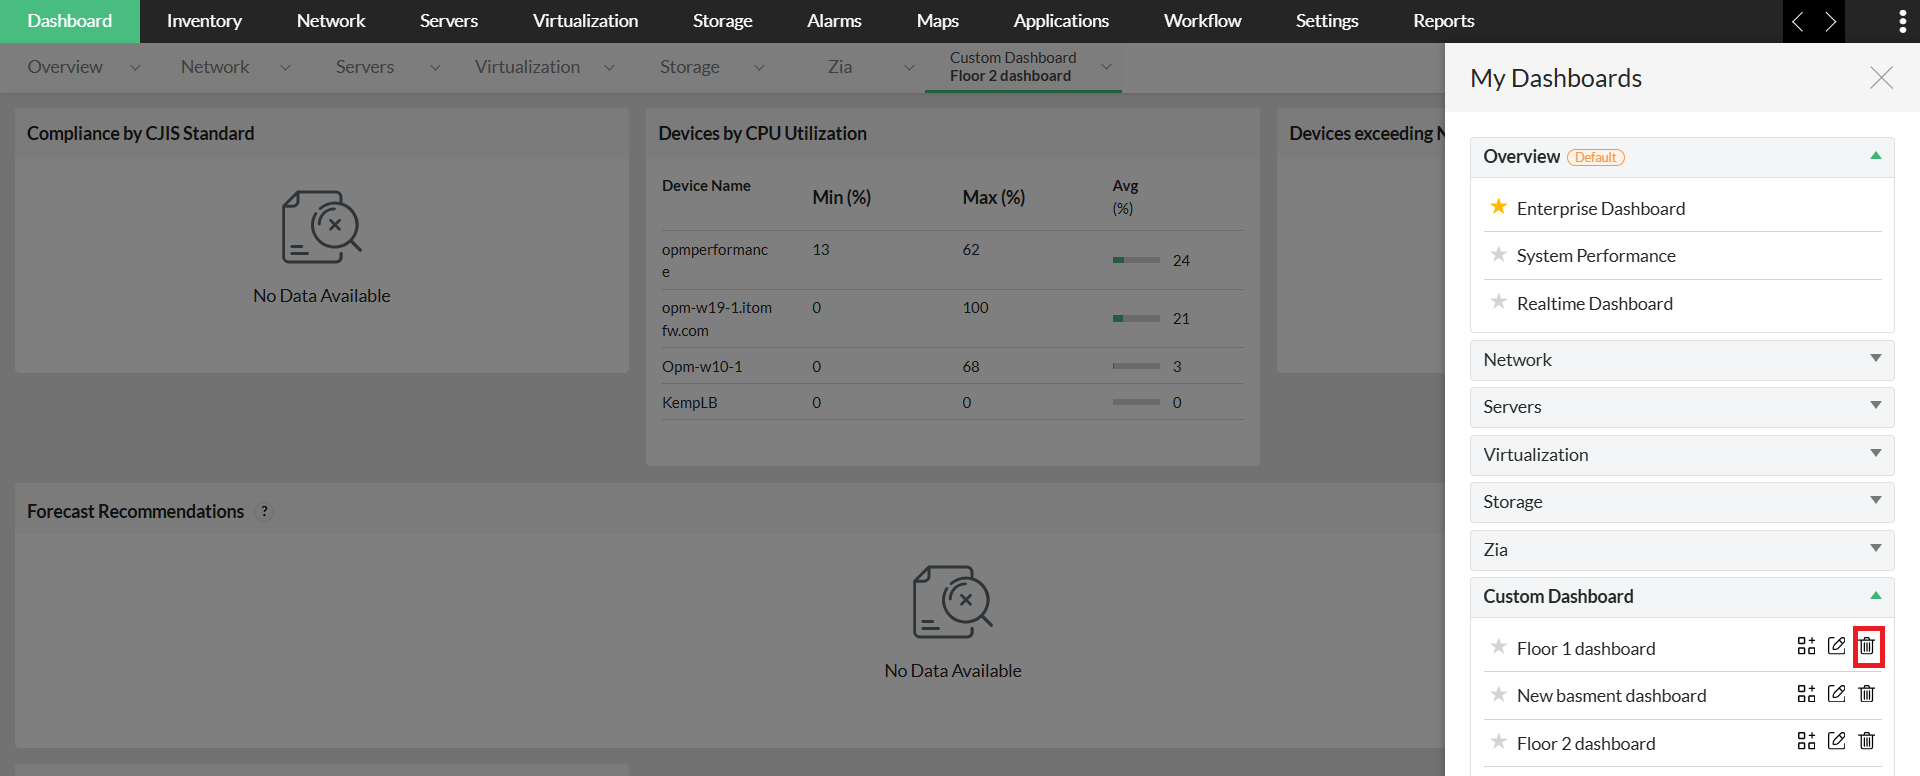
Can delete self-created and associated dashboards
|
Can delete self-created dashboards
|
|
View dashboard
|
All
|
Only Self-created and associated dashboards
|


