- Introduction to OpManager
- System Requirements
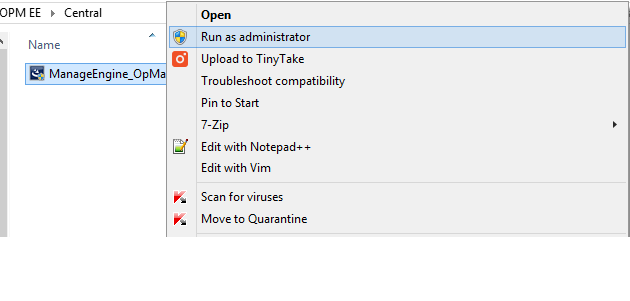
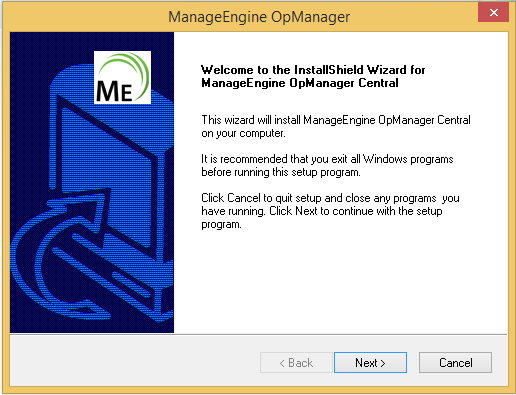
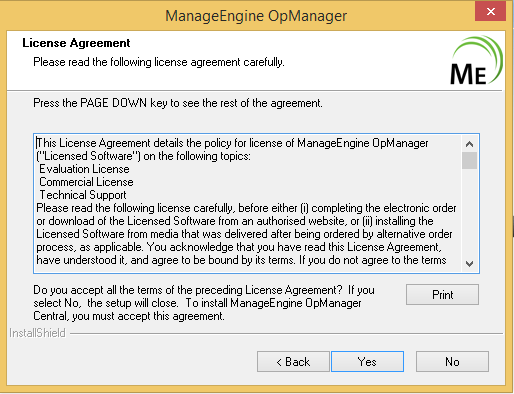
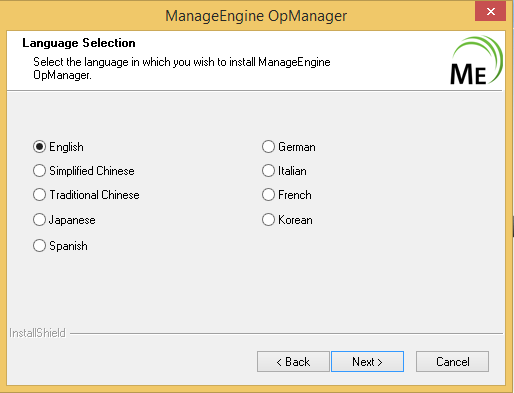
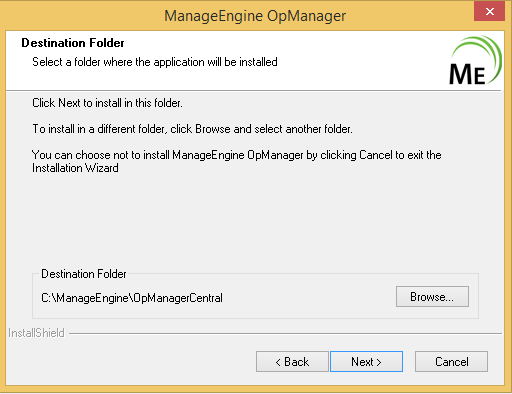
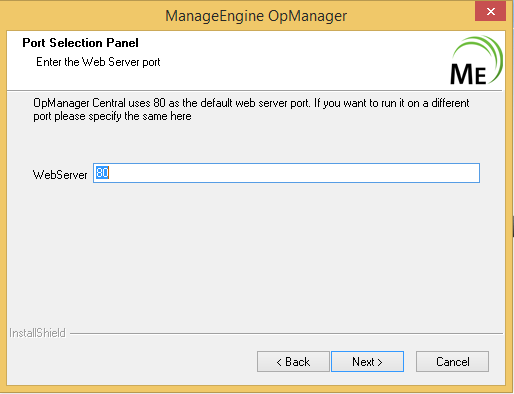
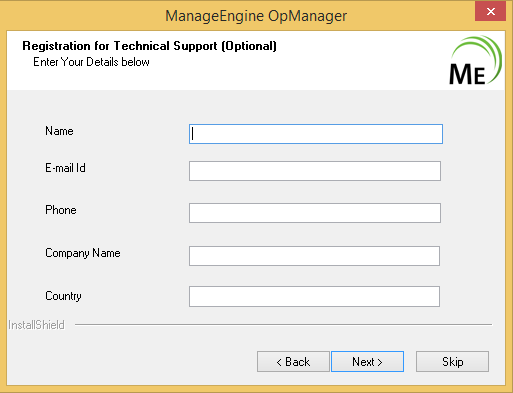
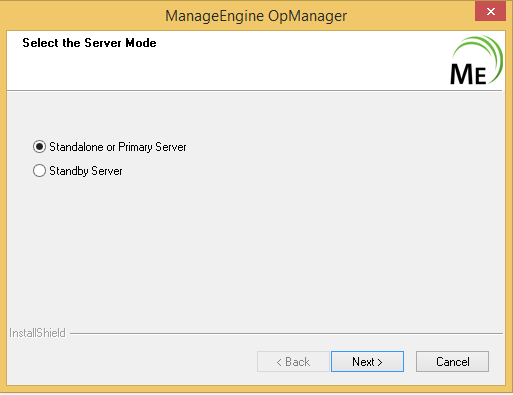
- Installation Guide
- After Installation
- Global settings
- User Management
- Authentication
- Getting Started
- Discovery and Classification
- Device Templates
- Associating Device Templates
- Interface Templates
- Scheduled Interface Discovery
- Add Credentials
- Discover Individual Devices
- Discovering Networks
- Layer 2 Discovery
- Discovering Add-on devices
- Adding devices using SSH
- Discovery Filter
- Configuring Discovery Rule Engine
- Discovery Troubleshooting
- Supported Device Categories
- Network monitoring
- Availability Monitoring
- Performance Monitoring
- Group monitors with Perf Groups
- Monitoring CPU, Memory, Disk Using SNMP
- Monitoring CPU, Memory, Disk Using WMI
- Monitoring CPU, Memory, Disk Using CLI
- Adding More Monitors
- Adding Custom Monitors
- Adding SNMP Monitors
- Deleting performance monitors
- List of Performance Monitors
- Adding WMI-based Custom Monitors
- Device-specific Monitoring Configuration
- Configuring manual thresholds
- Adaptive thresholds
- Interface Monitoring
- IPMI Monitoring
- Agent-based monitoring
- Agent-based device monitoring
- Agent-based vs Agentless monitoring
- Agent installation
- Agent installation - GPO Startup script
- Agent installation - GPO Scheduler
- Agent installation - SCCM
- Agent deployment - Endpoint Central
- Agent deployment - Webclient
- Enabling TLSV1.2 for secure communication
- Uninstalling agent
- WLC Monitoring
- Cisco Meraki Monitoring
- Cisco UCS Monitoring
- IP SLA Monitoring
- Linux Monitoring
- SNMP Trap Monitoring
- Service monitoring
- Process monitoring
- Script monitoring
- EventLog monitoring
- File and Folder monitoring
- Syslog monitoring
- URL monitoring
- Hardware monitoring
- VoIP Monitoring
- WAN Monitoring
- Other monitoring capabilities
- Virtualization monitoring
- VMware Monitoring
- HyperV Monitoring
- Nutanix Monitoring
- Xen Monitoring
- Storage Monitoring
- Network fault management
- Root Cause Analysis
- Alerts
- Notifications
- Configuring Notification Profiles
- Mail Server Settings
- SMS Server Settings
- Test SMS Server Settings via API Tool
- Email Alerting
- Custom email templates
- SMS Alerting
- Sound Alerting
- Running a Program
- Log a Ticket
- Run a System Command
- Trap Profile
- SysLog Profile
- Modifying, Deleting a Profile
- Notification Profile Criteria
- IT Workflow Automation
- Network visualization
- Dashboard view
- Inventory
- Grouping network components
- Maps
- Network monitoring reports
- Default Reports
- Custom reports
- Integrations supported
- Integrate with ServiceDesk Plus OP
- Integrate with ServiceDesk Plus Cloud
- Integrate with ServiceDesk Plus MSP
- Integrate with Applications Manager
- Integrate with AlarmsOne
- Integrate with ServiceNow
- Integrate with ServiceNow (using an SSL certificate)
- Integrate with Slack
- Integrate with Jira Service Management (On-Premise)
- Integrate with Microsoft Teams
- Integrate with Microsoft Teams (using Webhook)
- Integrate with Telegram
- Integrate with PagerDuty
- Integrate with Cisco WebEx
- Application Manager Plug-in
- Configure Client Settings
- System Settings
- Security Settings
- Failover
- Migration
- REST API
- Help Videos
- Appendix
- Best practices
- Enterprise edition Guide
- OpManager Architecture
- Installing OpManager Enterprise Edition
- Administrator guide
- Migration and Backup Guide
- OpManager Enterprise Edition - Update Guide
- Probe-Central communication
- Probe-Central communication troubleshooting
- Operating Principle of Enterprise Edition
- Configuring Probe-Central connection
- Scalability features
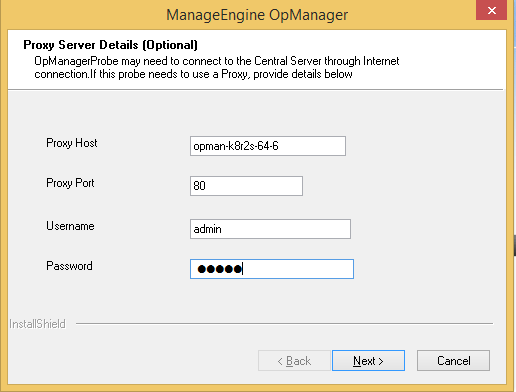
- Configuring proxy for Probes
- Read-Me


